
Cloudflare Domain Group Manager

How to use the Cloudflare Domain Group Manager
Step 1: Create the group
Log in to Cloudflare as a Super Administrator for the account.
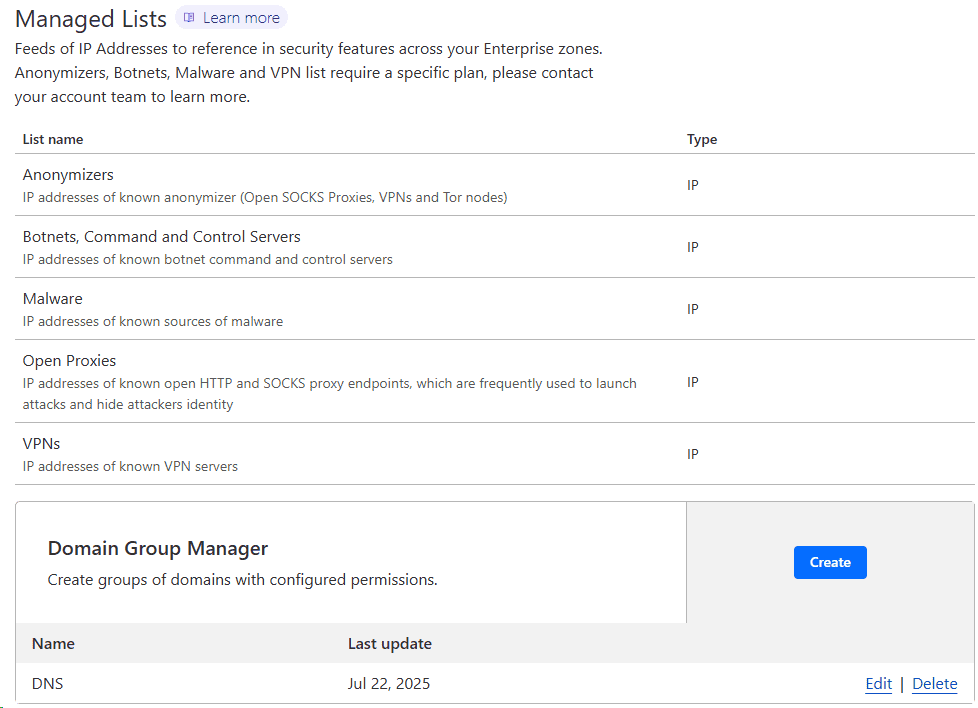
Go to Manage Account > Configurations > Lists
Scroll down to Domain Group Manager > Create
In the example below, we've created a Group to manage our DNS.
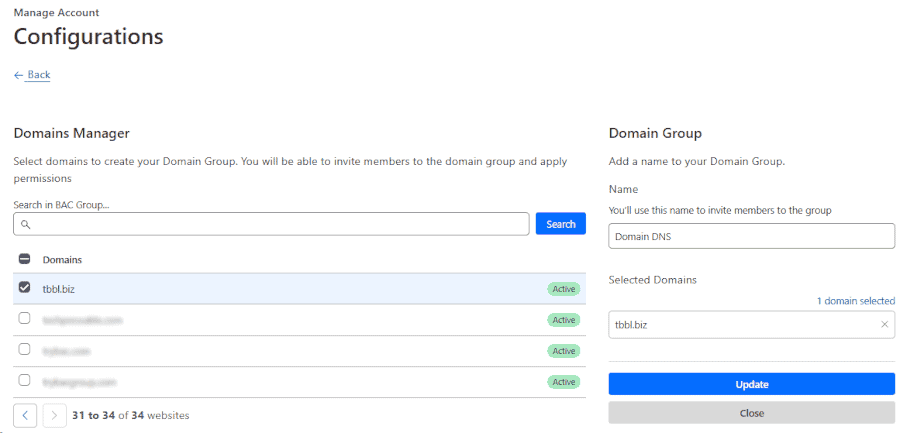
Step 2: Add domains
After clicking Create, give your Domain Group a name and then under Domains on the left, select the domains to be added to the Group.
Once the domains are selected, click the Create button on the right. Confirm your selections and click Create.
If at some point, you need to update your selections, you can edit your group and Update your domains.
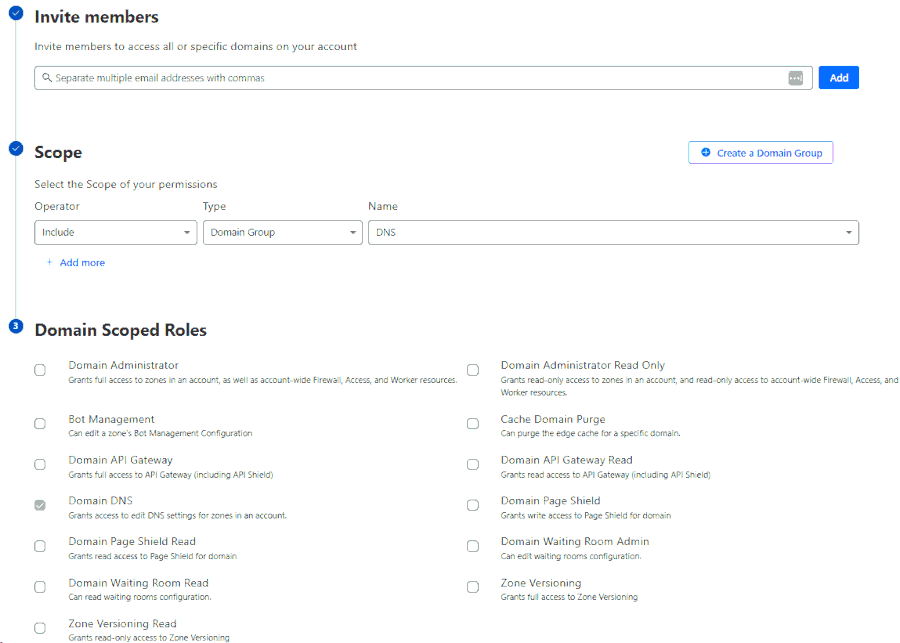
Step 3: Invite members and assign permissions
Go to Manage Account > Members > Invite members
Add the members email address.
Set the Scope to Include, the Type to Domain Group, the Source will be the name of your Domain Manager Group and the scope in our example will be Domain DNS.
Cloudflare's Domain Group Manager enables account administrators to organize several domains into custom groups, making it easier to assign precise roles and access permissions to individual users or teams. This streamlined approach is especially useful for managing extensive domain portfolios or when delegating access to only certain domains within an account.
Managed VPS Hosting


SEMRUSH


 Cloudflare Warp ·
Jump on the Internet fast lane by installing the WARP app. It's free and protects you from malware and Internet spies! #1dot1dot1dot1 1.1.1.1 — The free app that makes your Internet faster and safer.
Cloudflare Warp ·
Jump on the Internet fast lane by installing the WARP app. It's free and protects you from malware and Internet spies! #1dot1dot1dot1 1.1.1.1 — The free app that makes your Internet faster and safer.

